

Properly filling a raised bed: Tips and Tricks
A raised bed is filled in layers. The natural rotting processes inside the raised bed supply the plants with nutrients and sufficient warmth – even during the cold season. Follow our tips for your raised bed and start the gardening season prepared.
Our Raised Beds
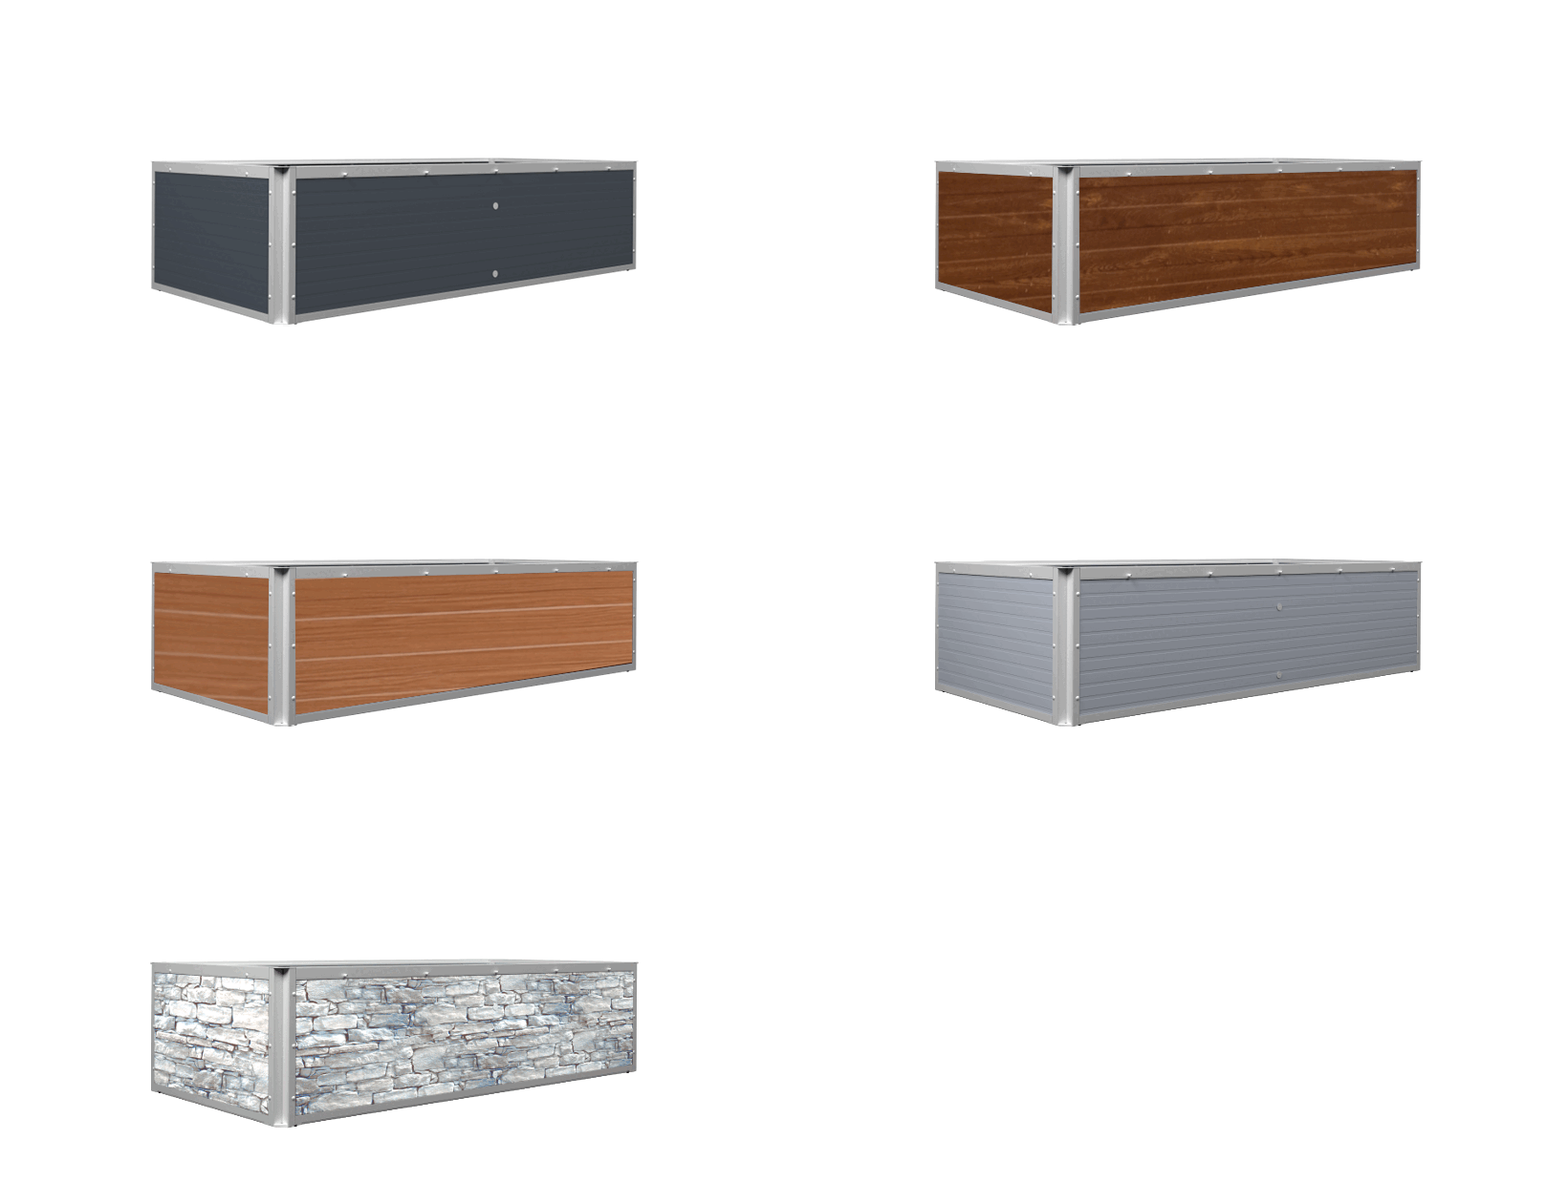
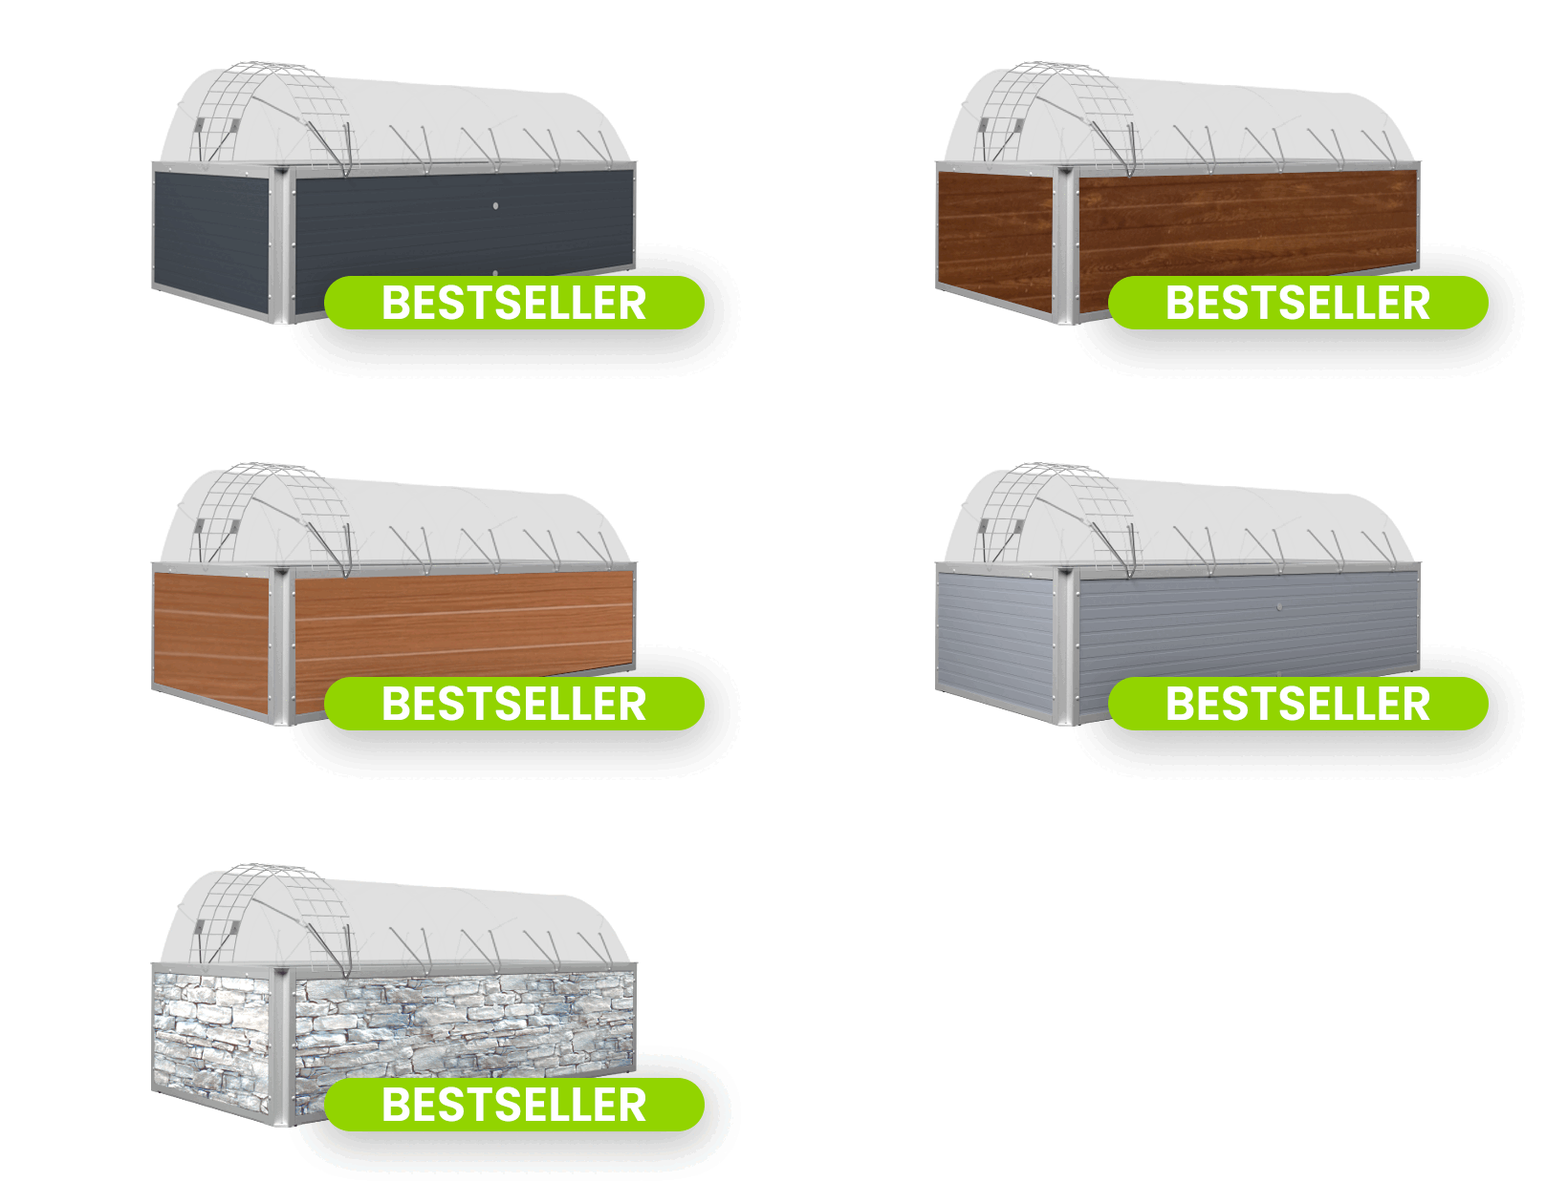
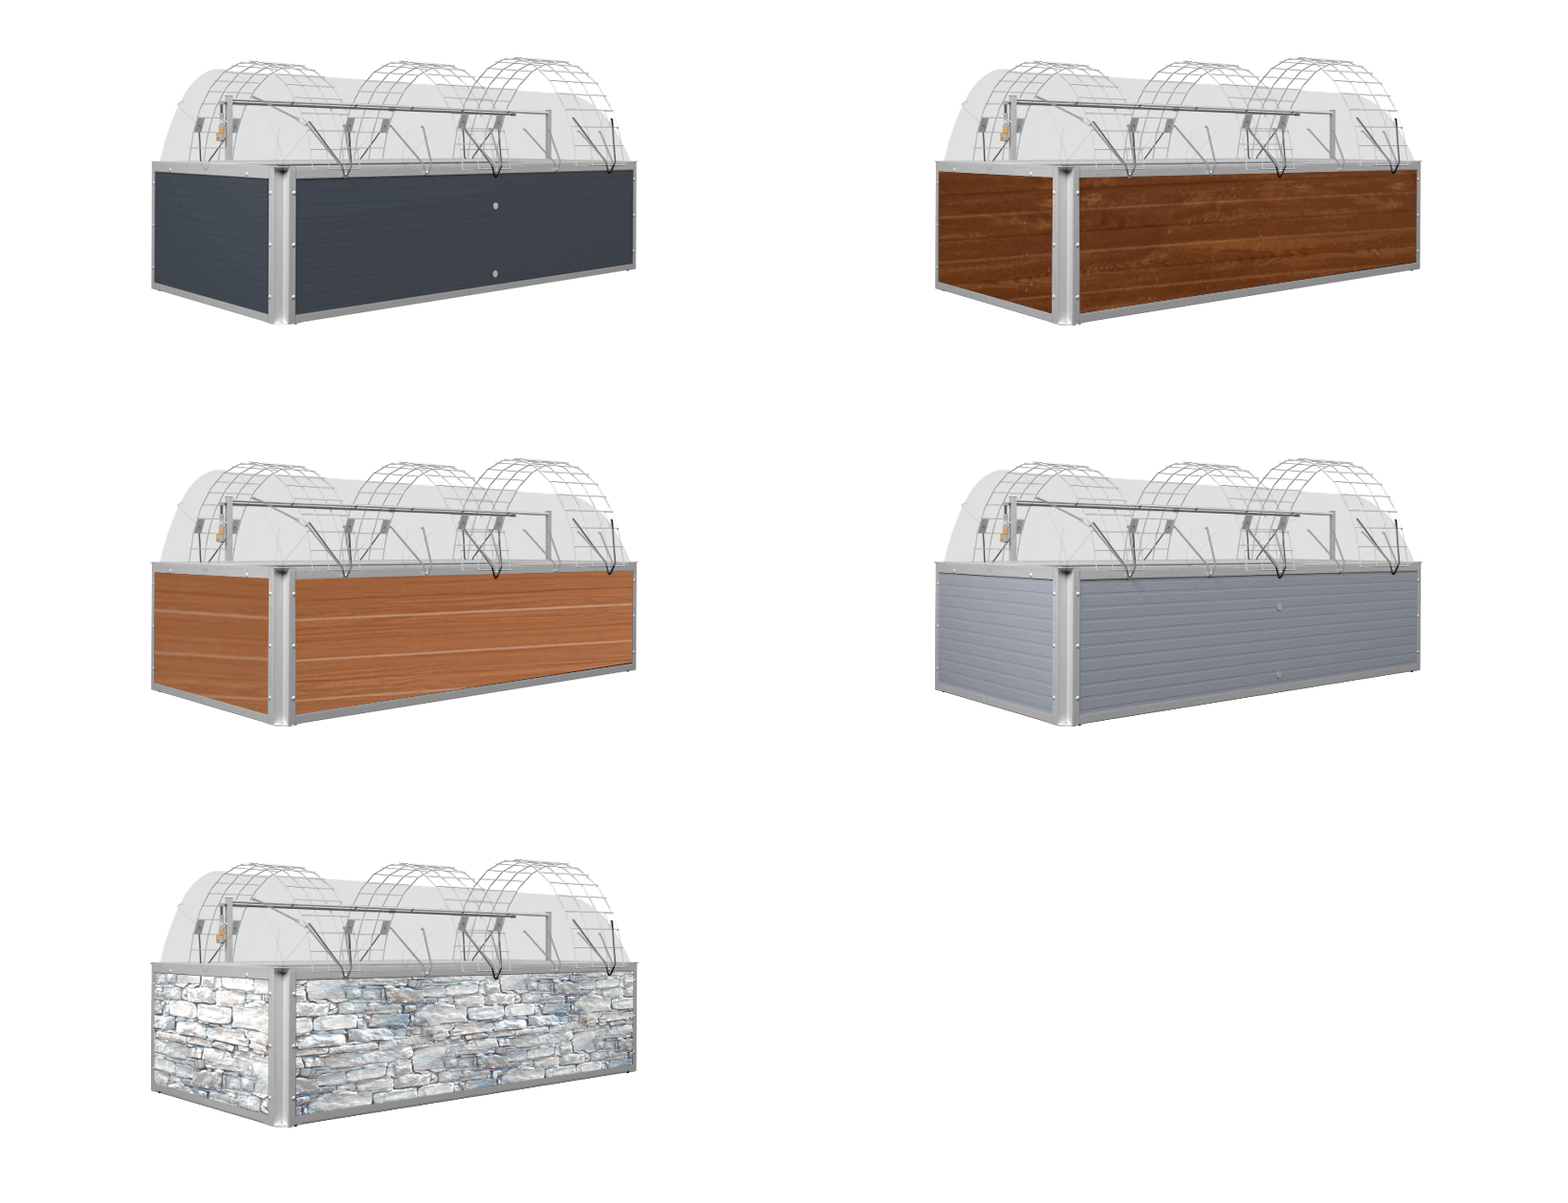
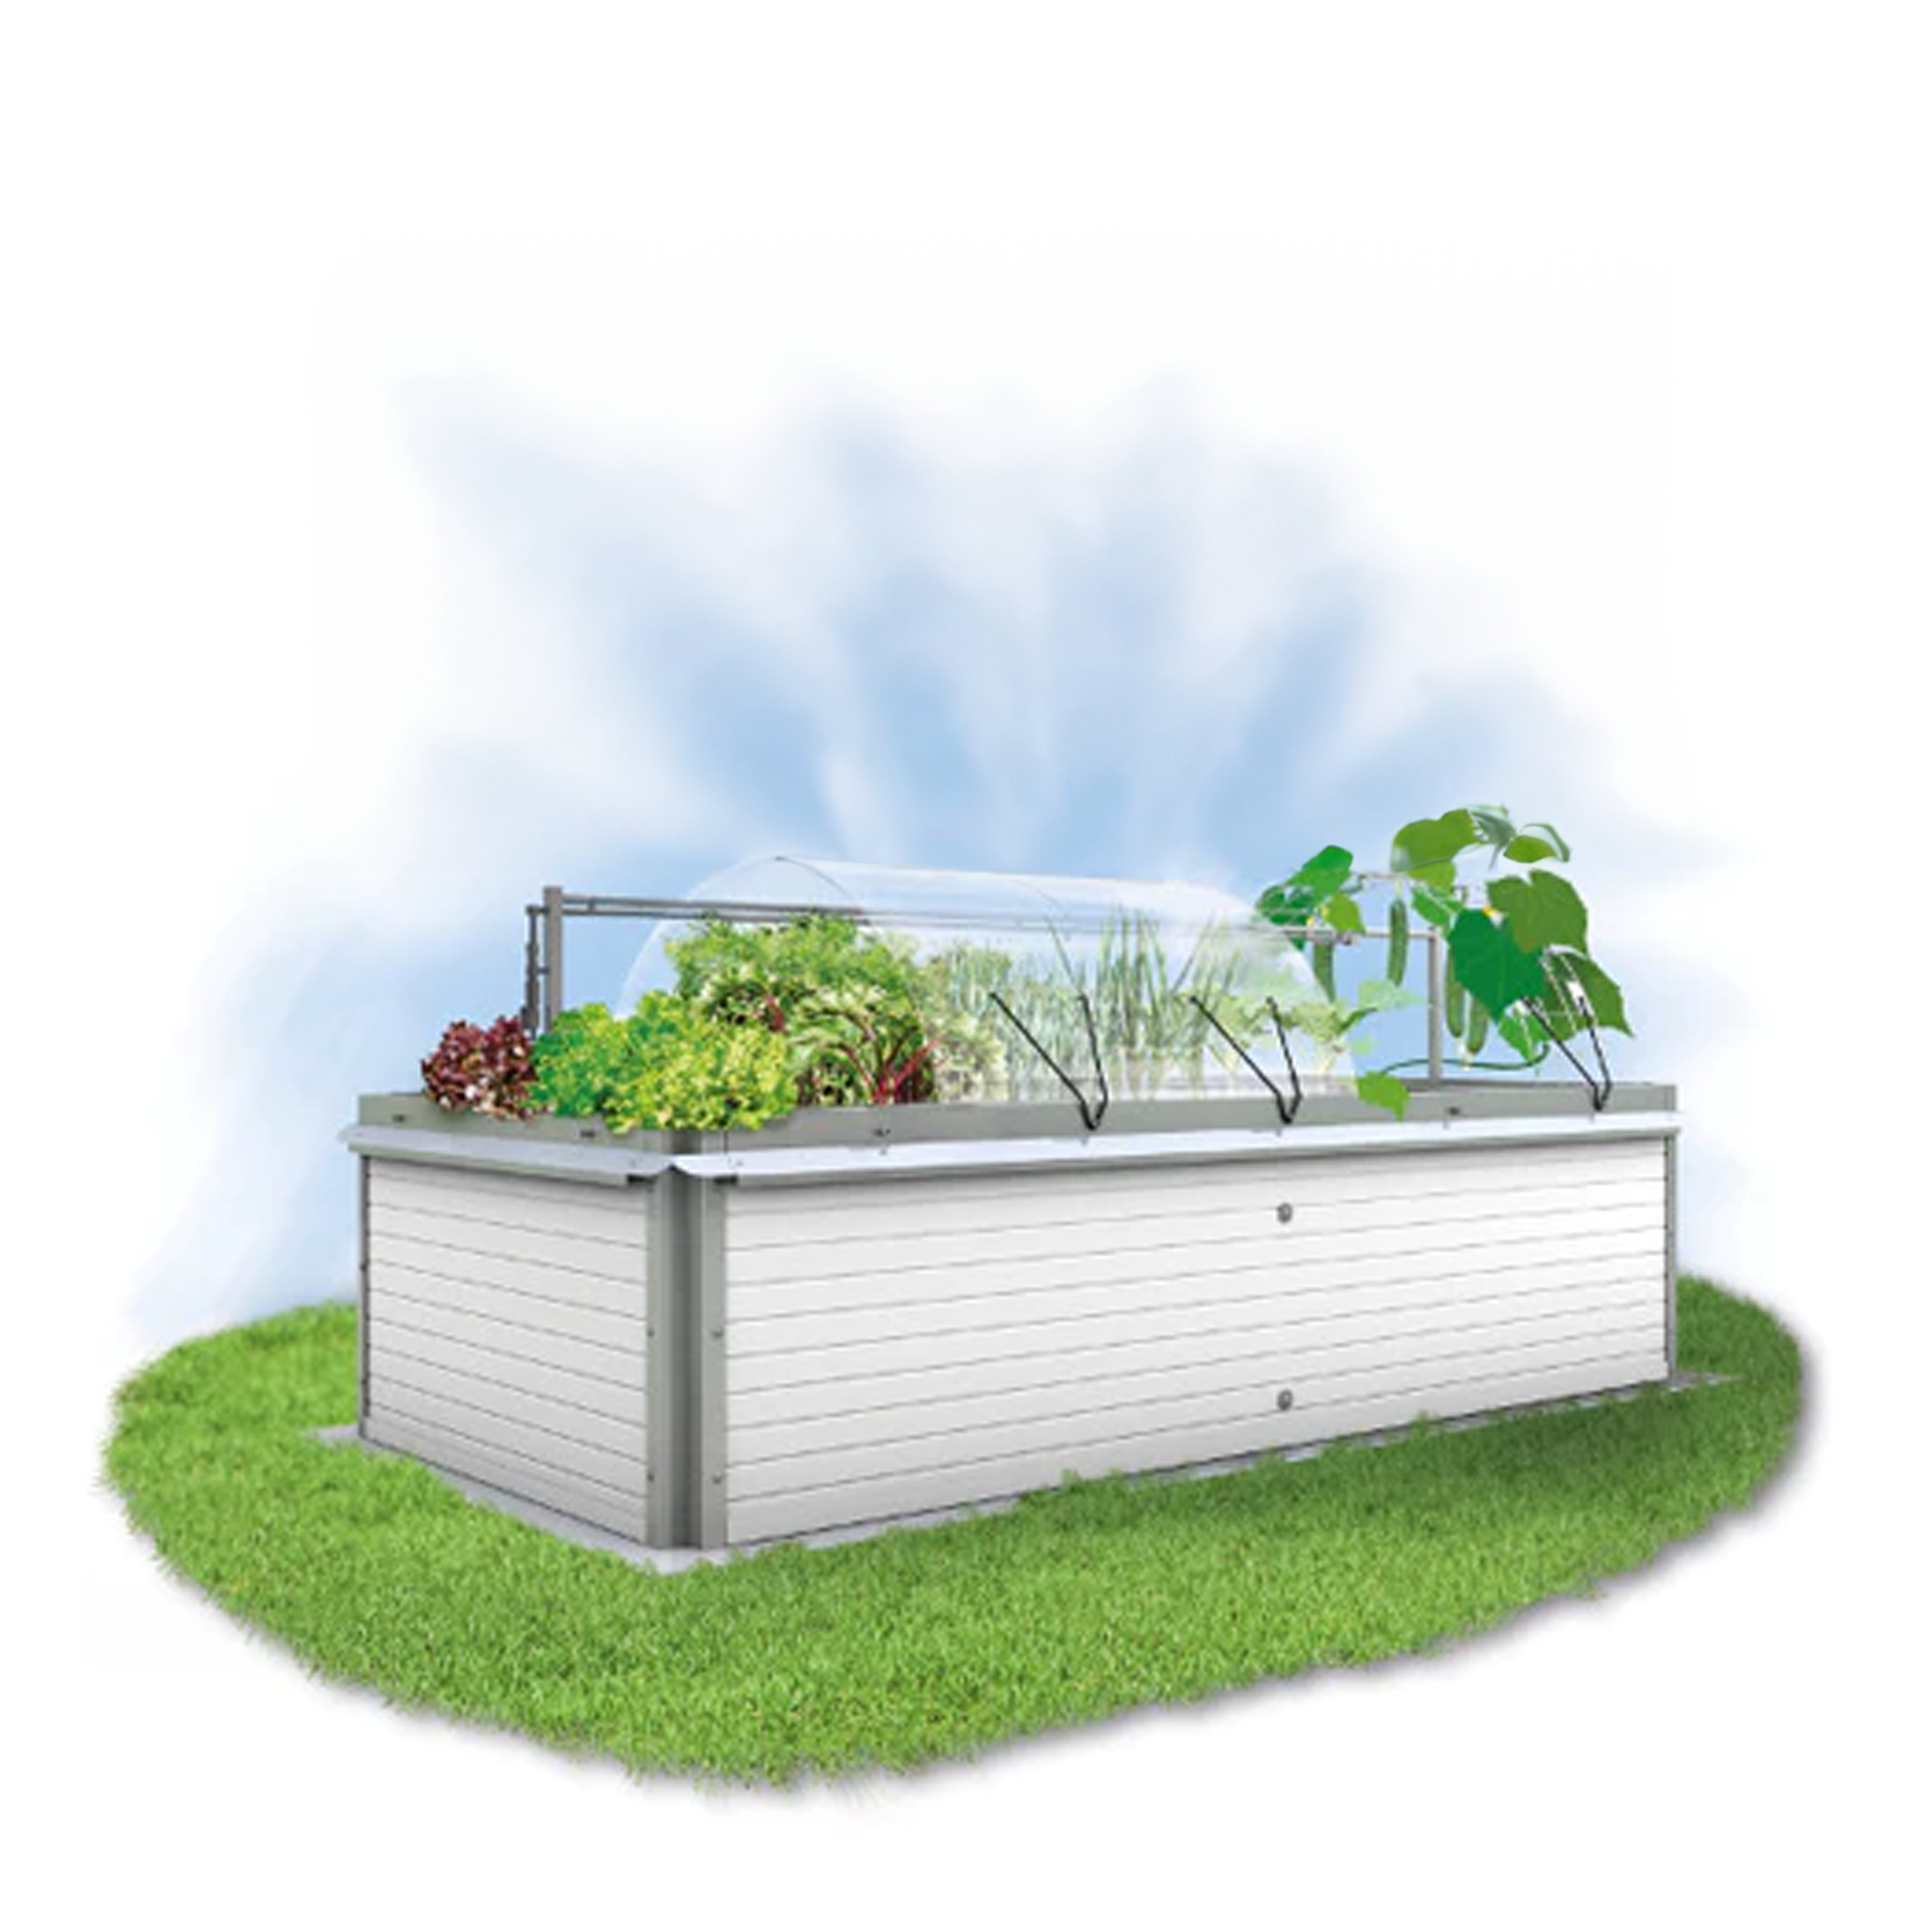
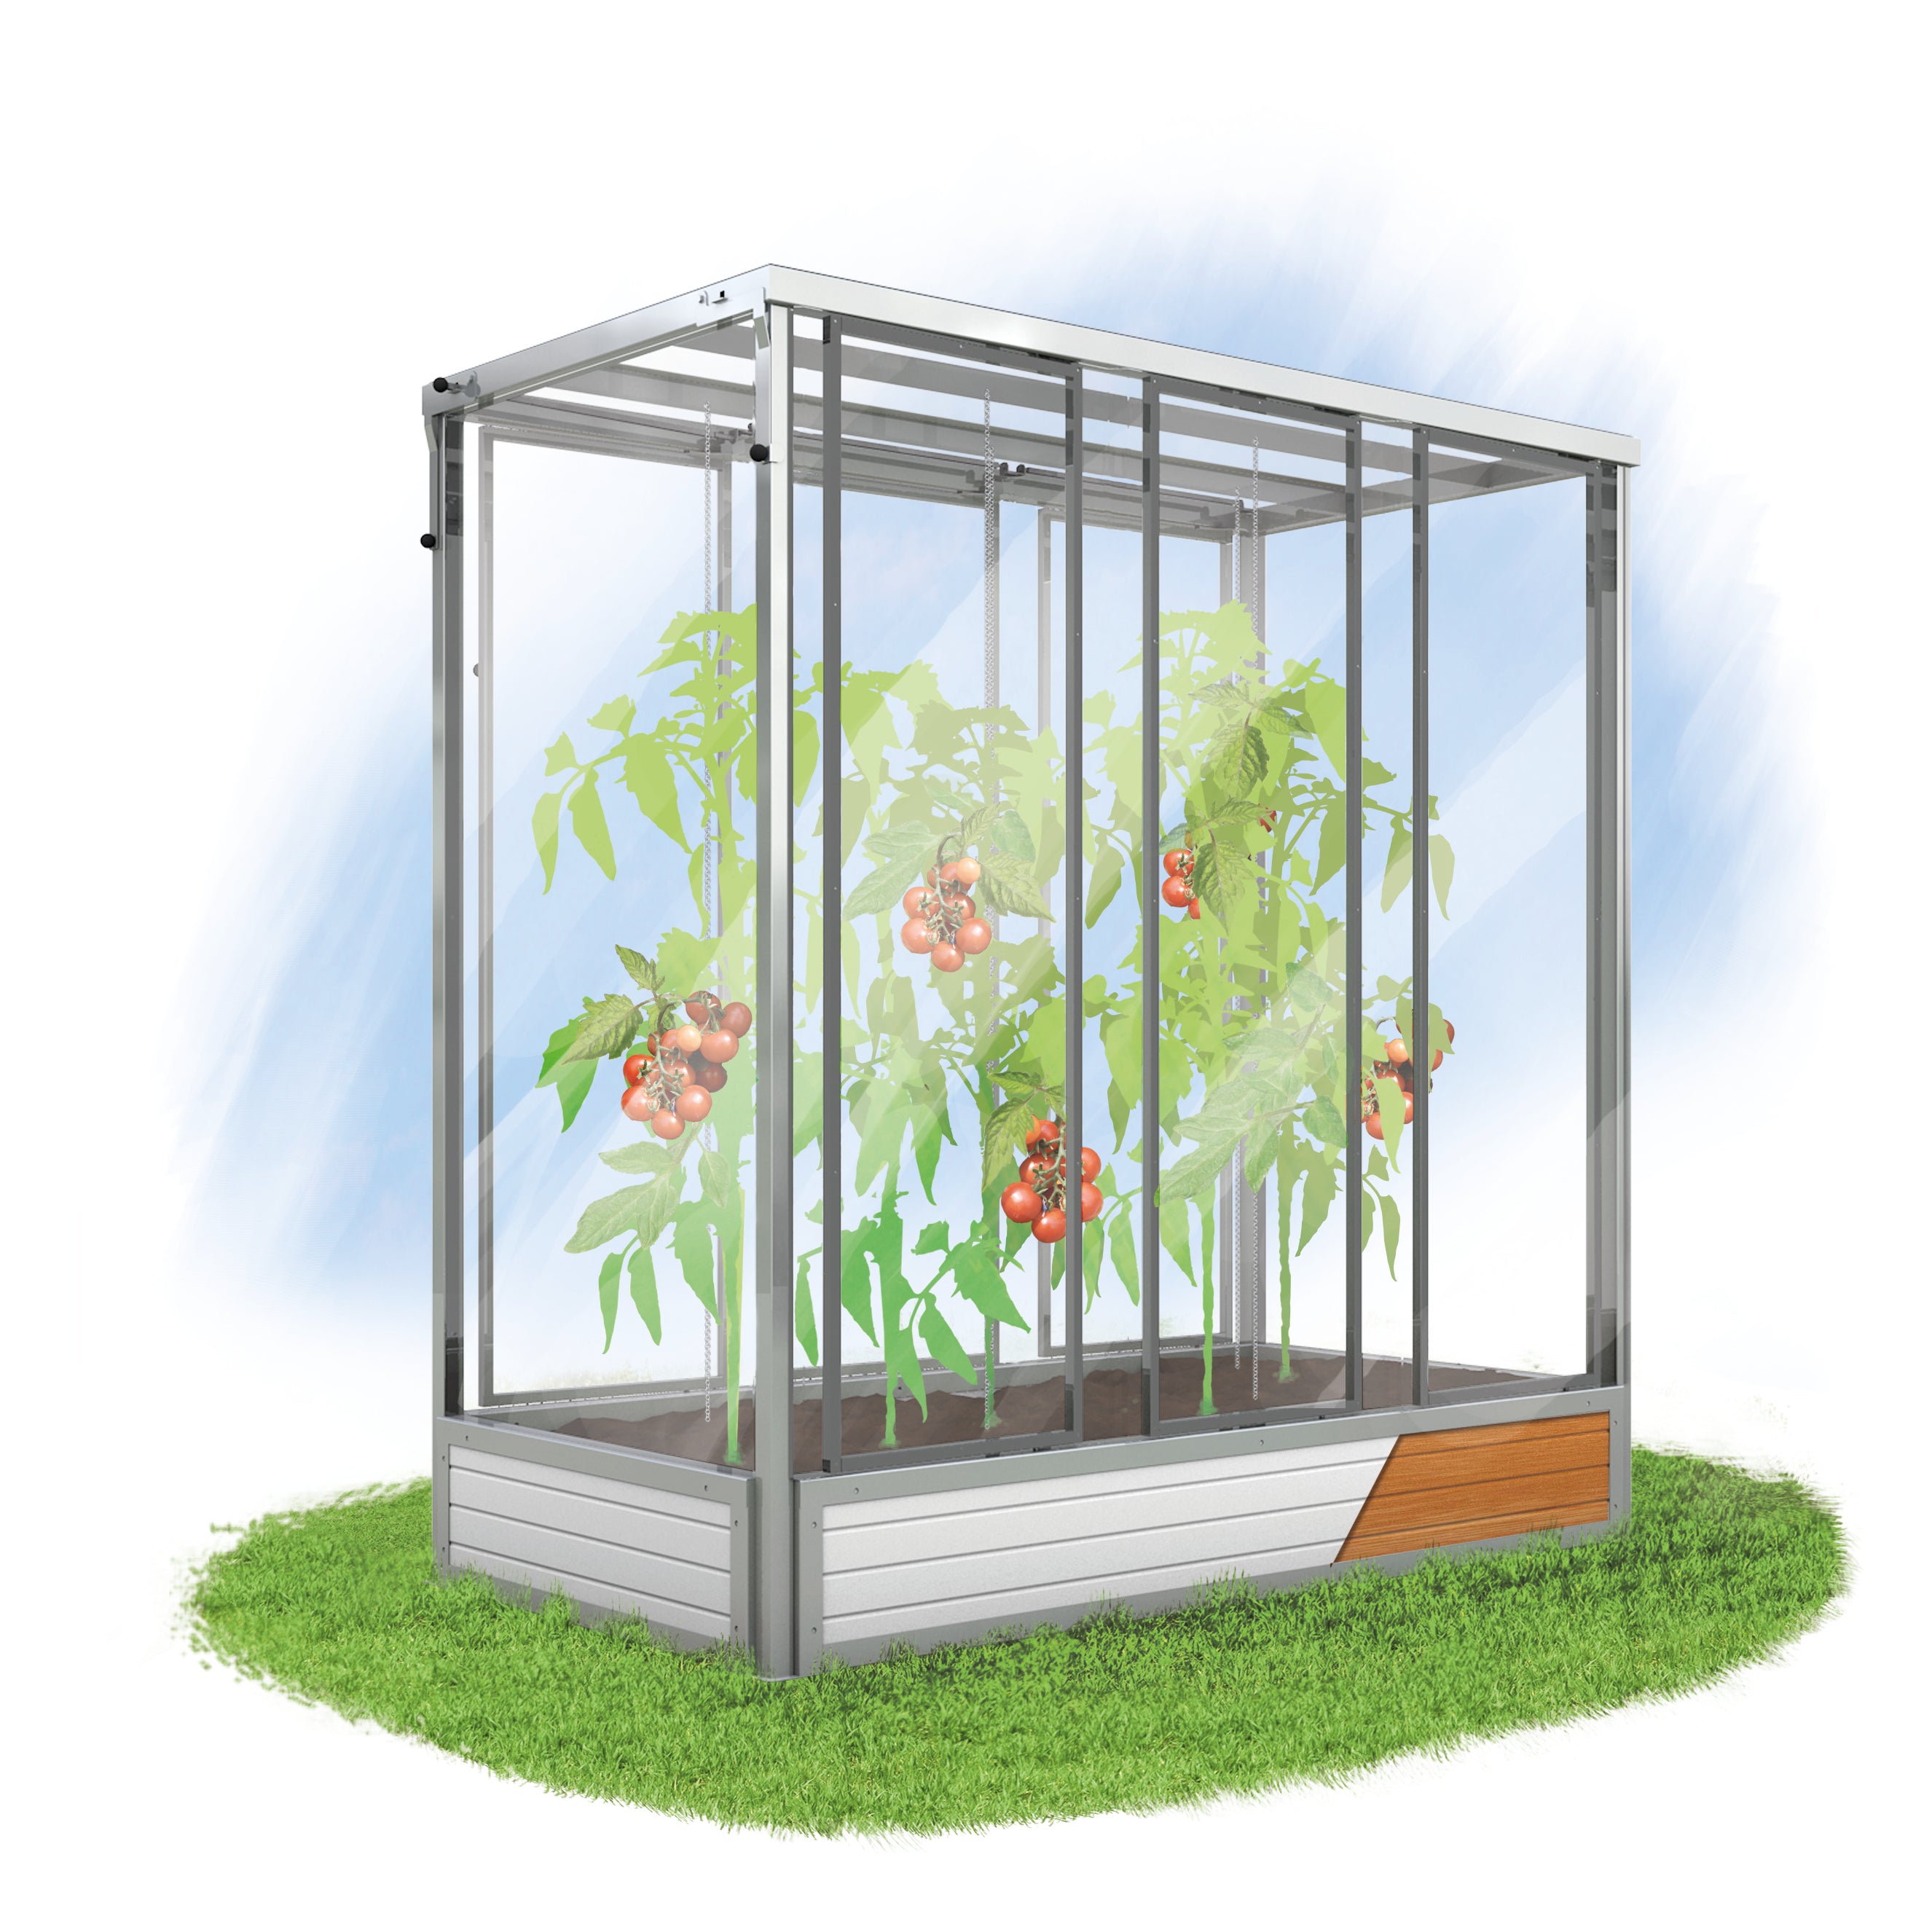
Allow us, at this opportunity, to introduce our raised beds
. With the correct filling, the ideal microclimate is created in our raised beds – so that your vegetables and herbs thrive even at outdoor temperatures below freezing.
Why is proper filling so important?
Soil temperature and nutrient content inside the raised bed directly depend on the soil composition matching the natural conditions of plant material decomposition. Proper filling therefore plays an important role in being able to effectively utilize the full potential of a raised bed. This means:
- Increased nutrient content
- Usability for up to 10 months
- Earlier harvests
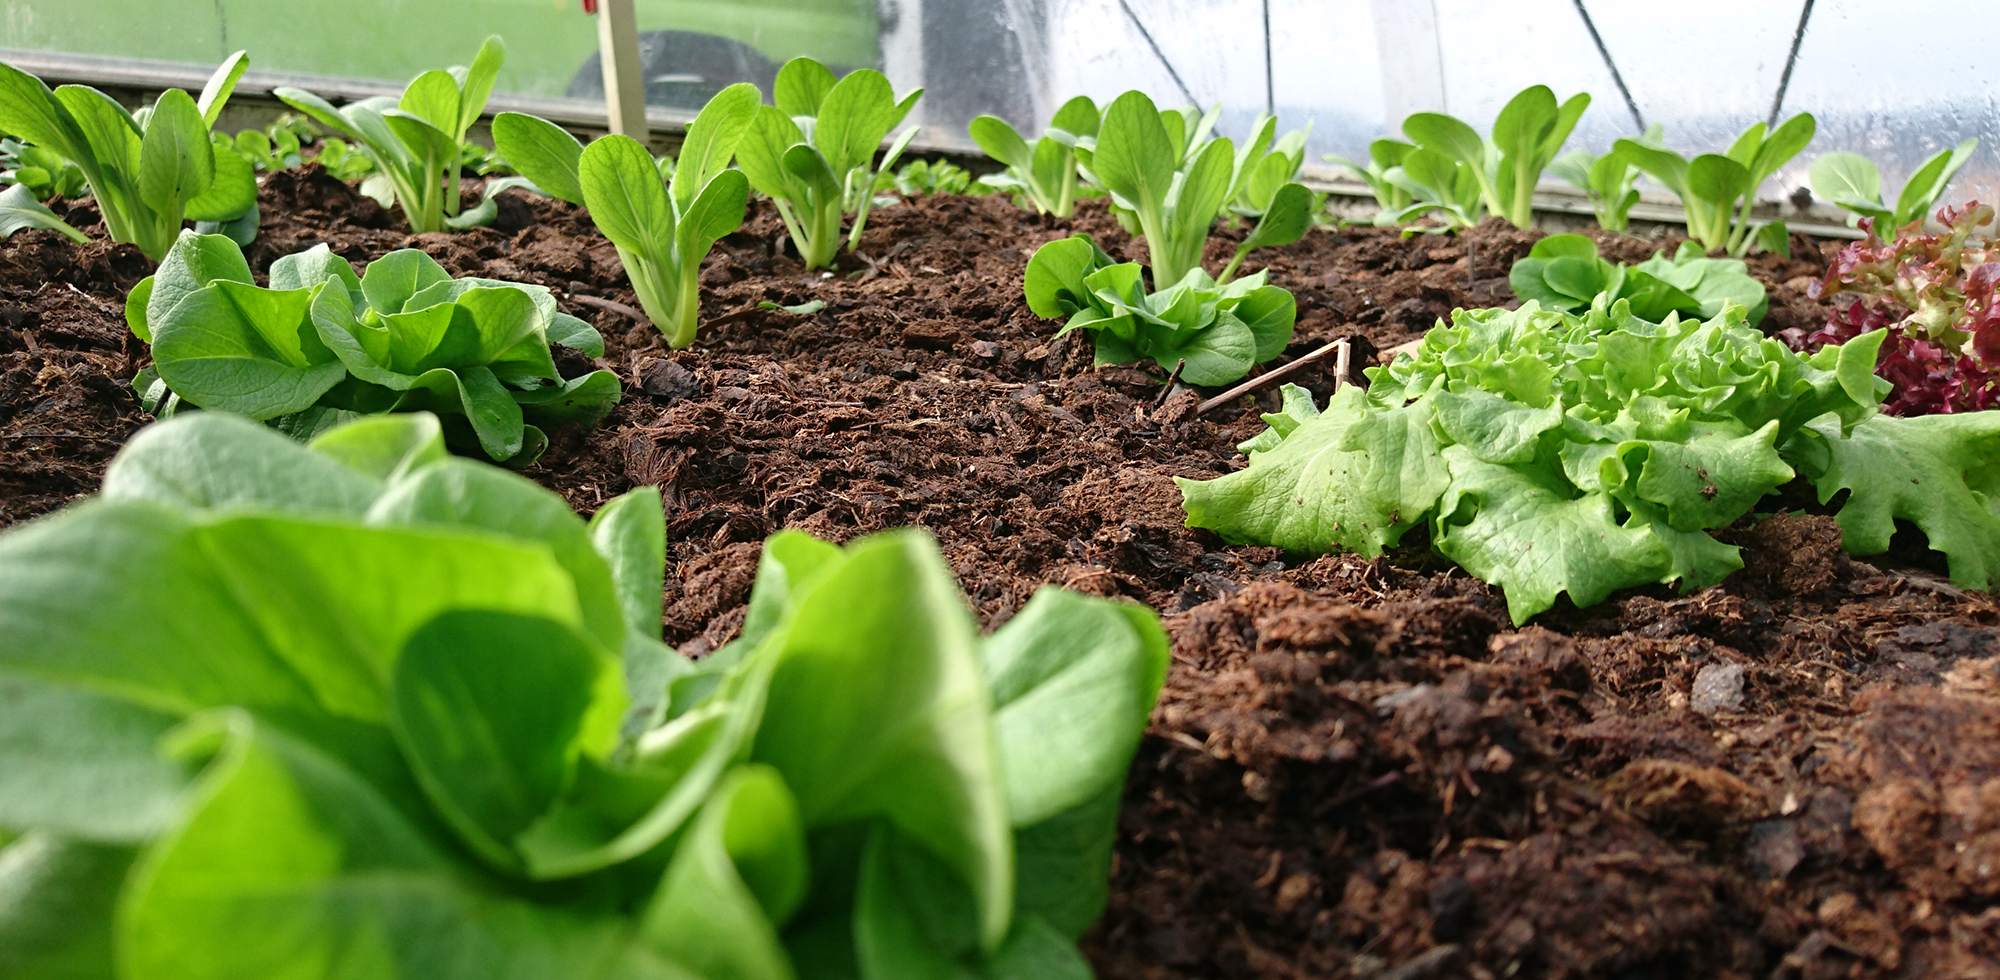
The decomposition of organic material inside the raised bed makes sufficient natural nutrients available, which can be optimally absorbed by the plants. The natural decomposition process not only creates high-quality, nutrient-rich compost, but also heat. This heat allows the raised bed to be cultivated for up to 10 months a year, as no frost occurs in the raised bed. With proper filling and a raised bed cover, it can also be used as a cold frame. The longer usability also means that planting can begin earlier. Therefore, the first harvest of the year can also be brought in earlier than with ground-level beds.
What preparations are necessary before filling?
A successful gardening season begins with the right preparation of the raised bed. Before you start filling the raised bed properly, four important steps must be observed.
- Location: The selection of the ideal location for your raised bed plays a crucial role. Choose a sunny location with good drainage to create optimal conditions for your plants.
- Weed removal: It is also important to thoroughly remove all weeds and grasses. This way you start with a clean bed and minimize annoying weed growth in the future. Don't forget to remove roots and stones as well.
- Material: The choice of the right material makes all the difference. A metal raised bed is characterized by its many strengths. For example, it offers durability and stability. Compared to other materials, metal retains its shape and structure for years to come, despite bad weather conditions. It also provides protection against pests like rodents and stores heat, which promotes healthy plant growth.
- Protection from animals: It is very important to consider how best to protect the raised bed from animals . To protect your plants, you should secure the raised bed with a reliable grid or net . This prevents animals from entering the bed and causing damage.
Once these preparatory tasks are done, you can optimally fill and prepare the raised bed.
Step-by-step: Filling a raised bed
Recommended filling
Step 1
Even before you start filling, we recommend installing a vole guard at the bottom of the raised bed. Directly on the vole guard comes the first layer of filling: tree cuttings, shrub cuttings, and/or hedge cuttings – the so-called “wood core layer”. This loose layer creates a loose structure, which keeps the raised bed accessible to beneficial soil organisms. The combination with the vole guard is ideal for simultaneously keeping unwanted visitors away. To complete the first layer, approximately 5cm thick inverted sods are used.
Step 2
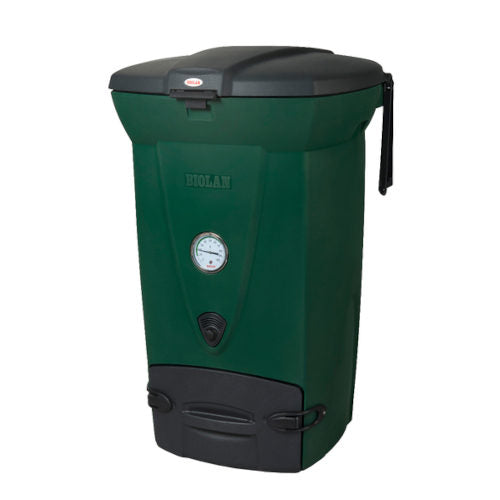
On top of the bottom layer follows a second layer, about 20 cm thick, consisting of light compost, leaf mulch, and grass clippings. For compost from your own garden, it is advisable to use only plant waste for composting and no meat or fish scraps, to avoid attracting pests and strong odors. With a rapid composter you can make high-quality compost in your garden, which is excellent for use throughout the garden.
Step 3
The top layer of a properly filled raised bed is a layer of high-quality soil. You can either use soil from your garden (e.g., the soil you removed to set up the raised bed) or you can purchase, for example, organic black earth. No extra compost needs to be added to the soil layer. The plants are then placed in this top layer of soil. If you follow this procedure when filling your raised bed, you can expect productive and high-quality harvests for about 5 years.
What to fill the raised bed with?
Filling with garden waste
Ambitious gardeners follow the philosophy that their own garden already provides almost all the nutrients needed by subsequent plant generations. But even for less experienced garden owners, composting and soil improvement are very easy to achieve. Basically, you can use most natural garden waste in large quantities for filling. Only stubborn weed roots, such as those of dandelions or bindweed, should not be mixed in. By recycling garden waste, you need less or no fertilizer and still have high yields. Good usable garden waste primarily includes:
- Tree and hedge trimmings
- Shredded material
- Grass clippings
- Waste from plant care
- Bed clearing after harvest
- Leaves
Filling with wood chips and compost
If you do not have enough garden waste available, or want to buy the individual components of the raised bed filling, there is another way to fill the raised bed in 3 layers.
- Use various wood chips as the bottom layer. Fill one third of the raised bed with it.
- The second layer should ideally consist of naturally composted material . Alternatively, horse or cow dung can also be used.
- As the third layer, fill the raised bed with high-quality soil.
Disadvantages:
Due to the lack of downward protection, the risk of voles and other pests entering the raised bed increases significantly.
The material used does not have the same high quality as organic material from your own garden.
Filling with straw bales or similar filling material
Part of the filling can also be replaced by straw bales or similar filling material.
- Start again by laying the bottom layer with wood chips.
- On the first layer, you now place a layer of straw or straw bales.
- The second to last layer consists of – as in alternative 1 – cow dung or horse manure.
- Above this, you finish with a layer of soil, into which the plants will then be placed.
Disadvantages:
Since straw decomposes relatively quickly, it will likely be necessary to refill the raised bed annually with this filling method.
Filling with composted material
This method is long-term and therefore takes significantly more time than the alternatives mentioned so far. If you are in a hurry, you should opt for one of the previous approaches.
- In this variant, the bottom layer of wood chips is first laid.
- Now, the raised bed is used as a composter for one year. Before planting or sowing, a layer of topsoil and a layer of potting soil should be placed on top of the composting material.
Disadvantages:
This variant takes a relatively long time and is therefore not suitable for spontaneous filling.
Refilling the raised bed
- New material for natural decomposition processes
- Fresh nutrient supply
- Restacking, as the layers mix over time
- Utilisation of the entire space in the raised bed
To refill the raised bed, the top layer of one half is usually raked to the side. Then, grass clippings, compost, or animal manure are lightly added. Afterward, the soil is raked back to its side, and the same is done with the other side. This brings the filling back to full height in spring, provides new nutrients, and the new material from the lower part of the raised bed generates new decomposition heat, which further stimulates growth in the coming year. This way, you can continue to enjoy a rich harvest.