
FAQ
Generally
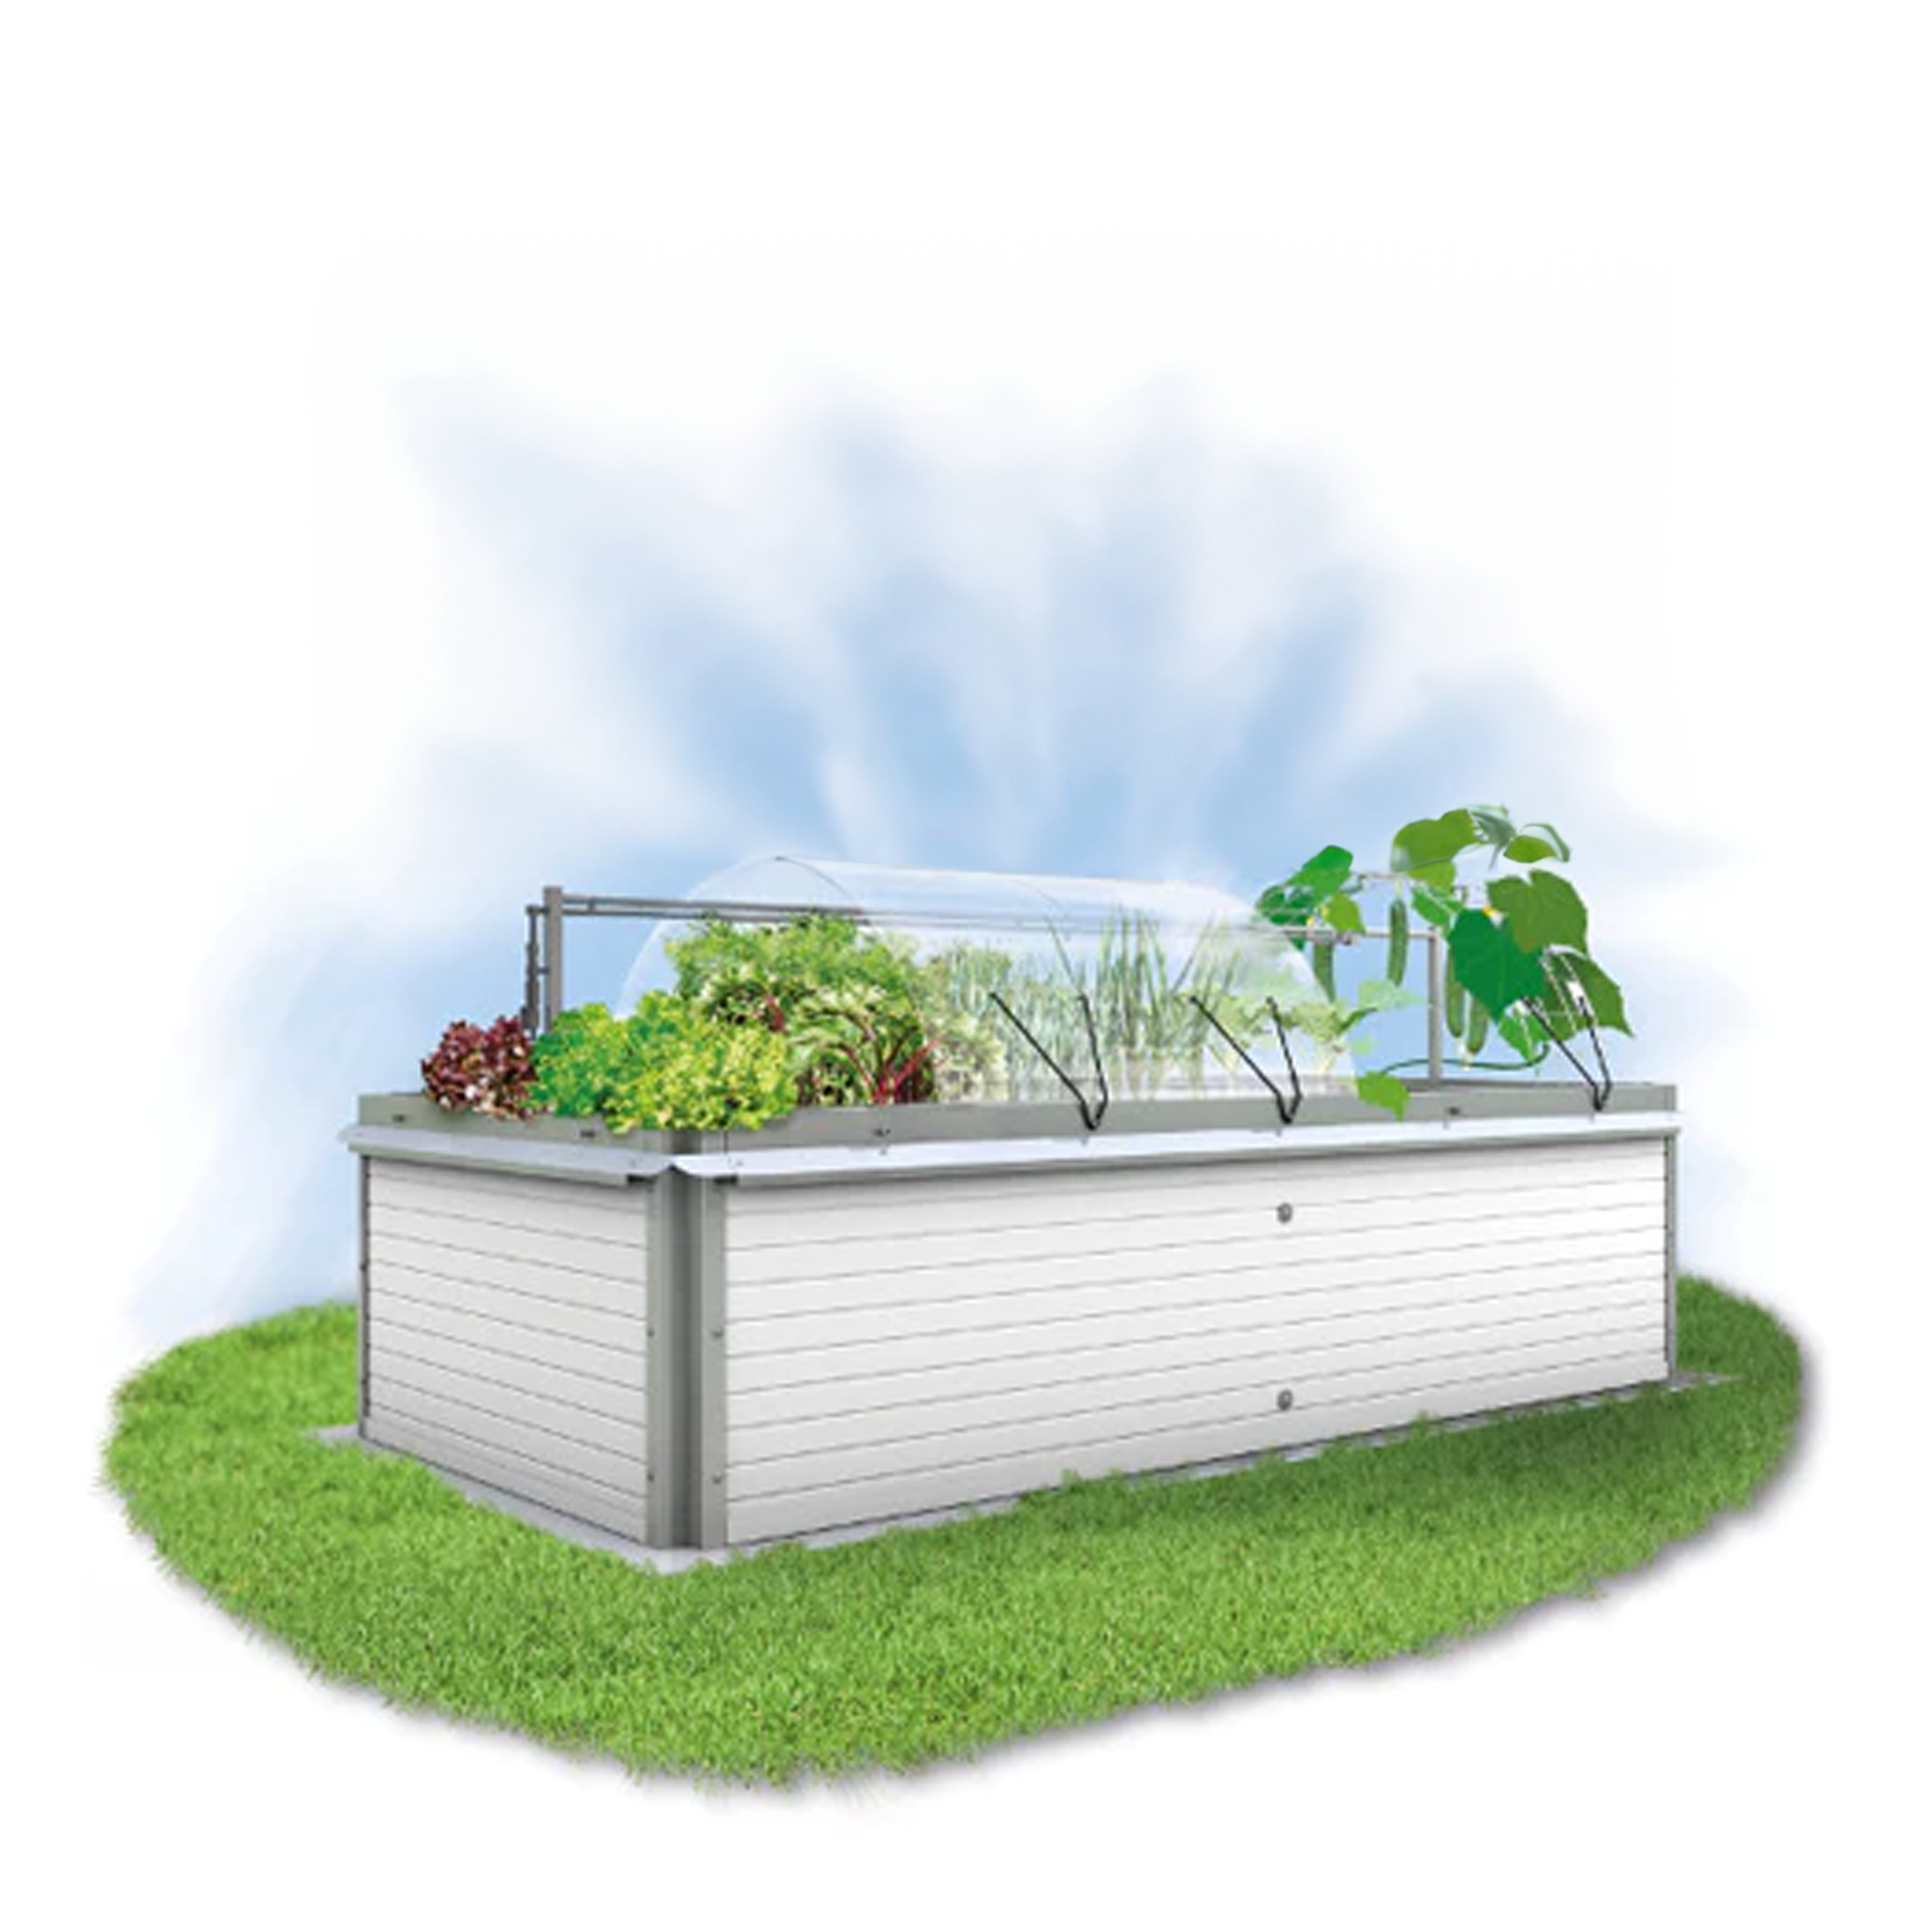
Our unique selling point is the high quality of our products: durable, thermally insulated for higher yields and individually configurable. In addition, our special cover allows the raised bed to be used all year round.
Metal raised beds are more durable and do not require bubble wrap. We use special stainless steel that does not cause aluminum oxide in the food and our materials last for decades, unlike wooden raised beds.
We offer various covers, irrigation systems, insect screens, vole screens, snail protection and much more.
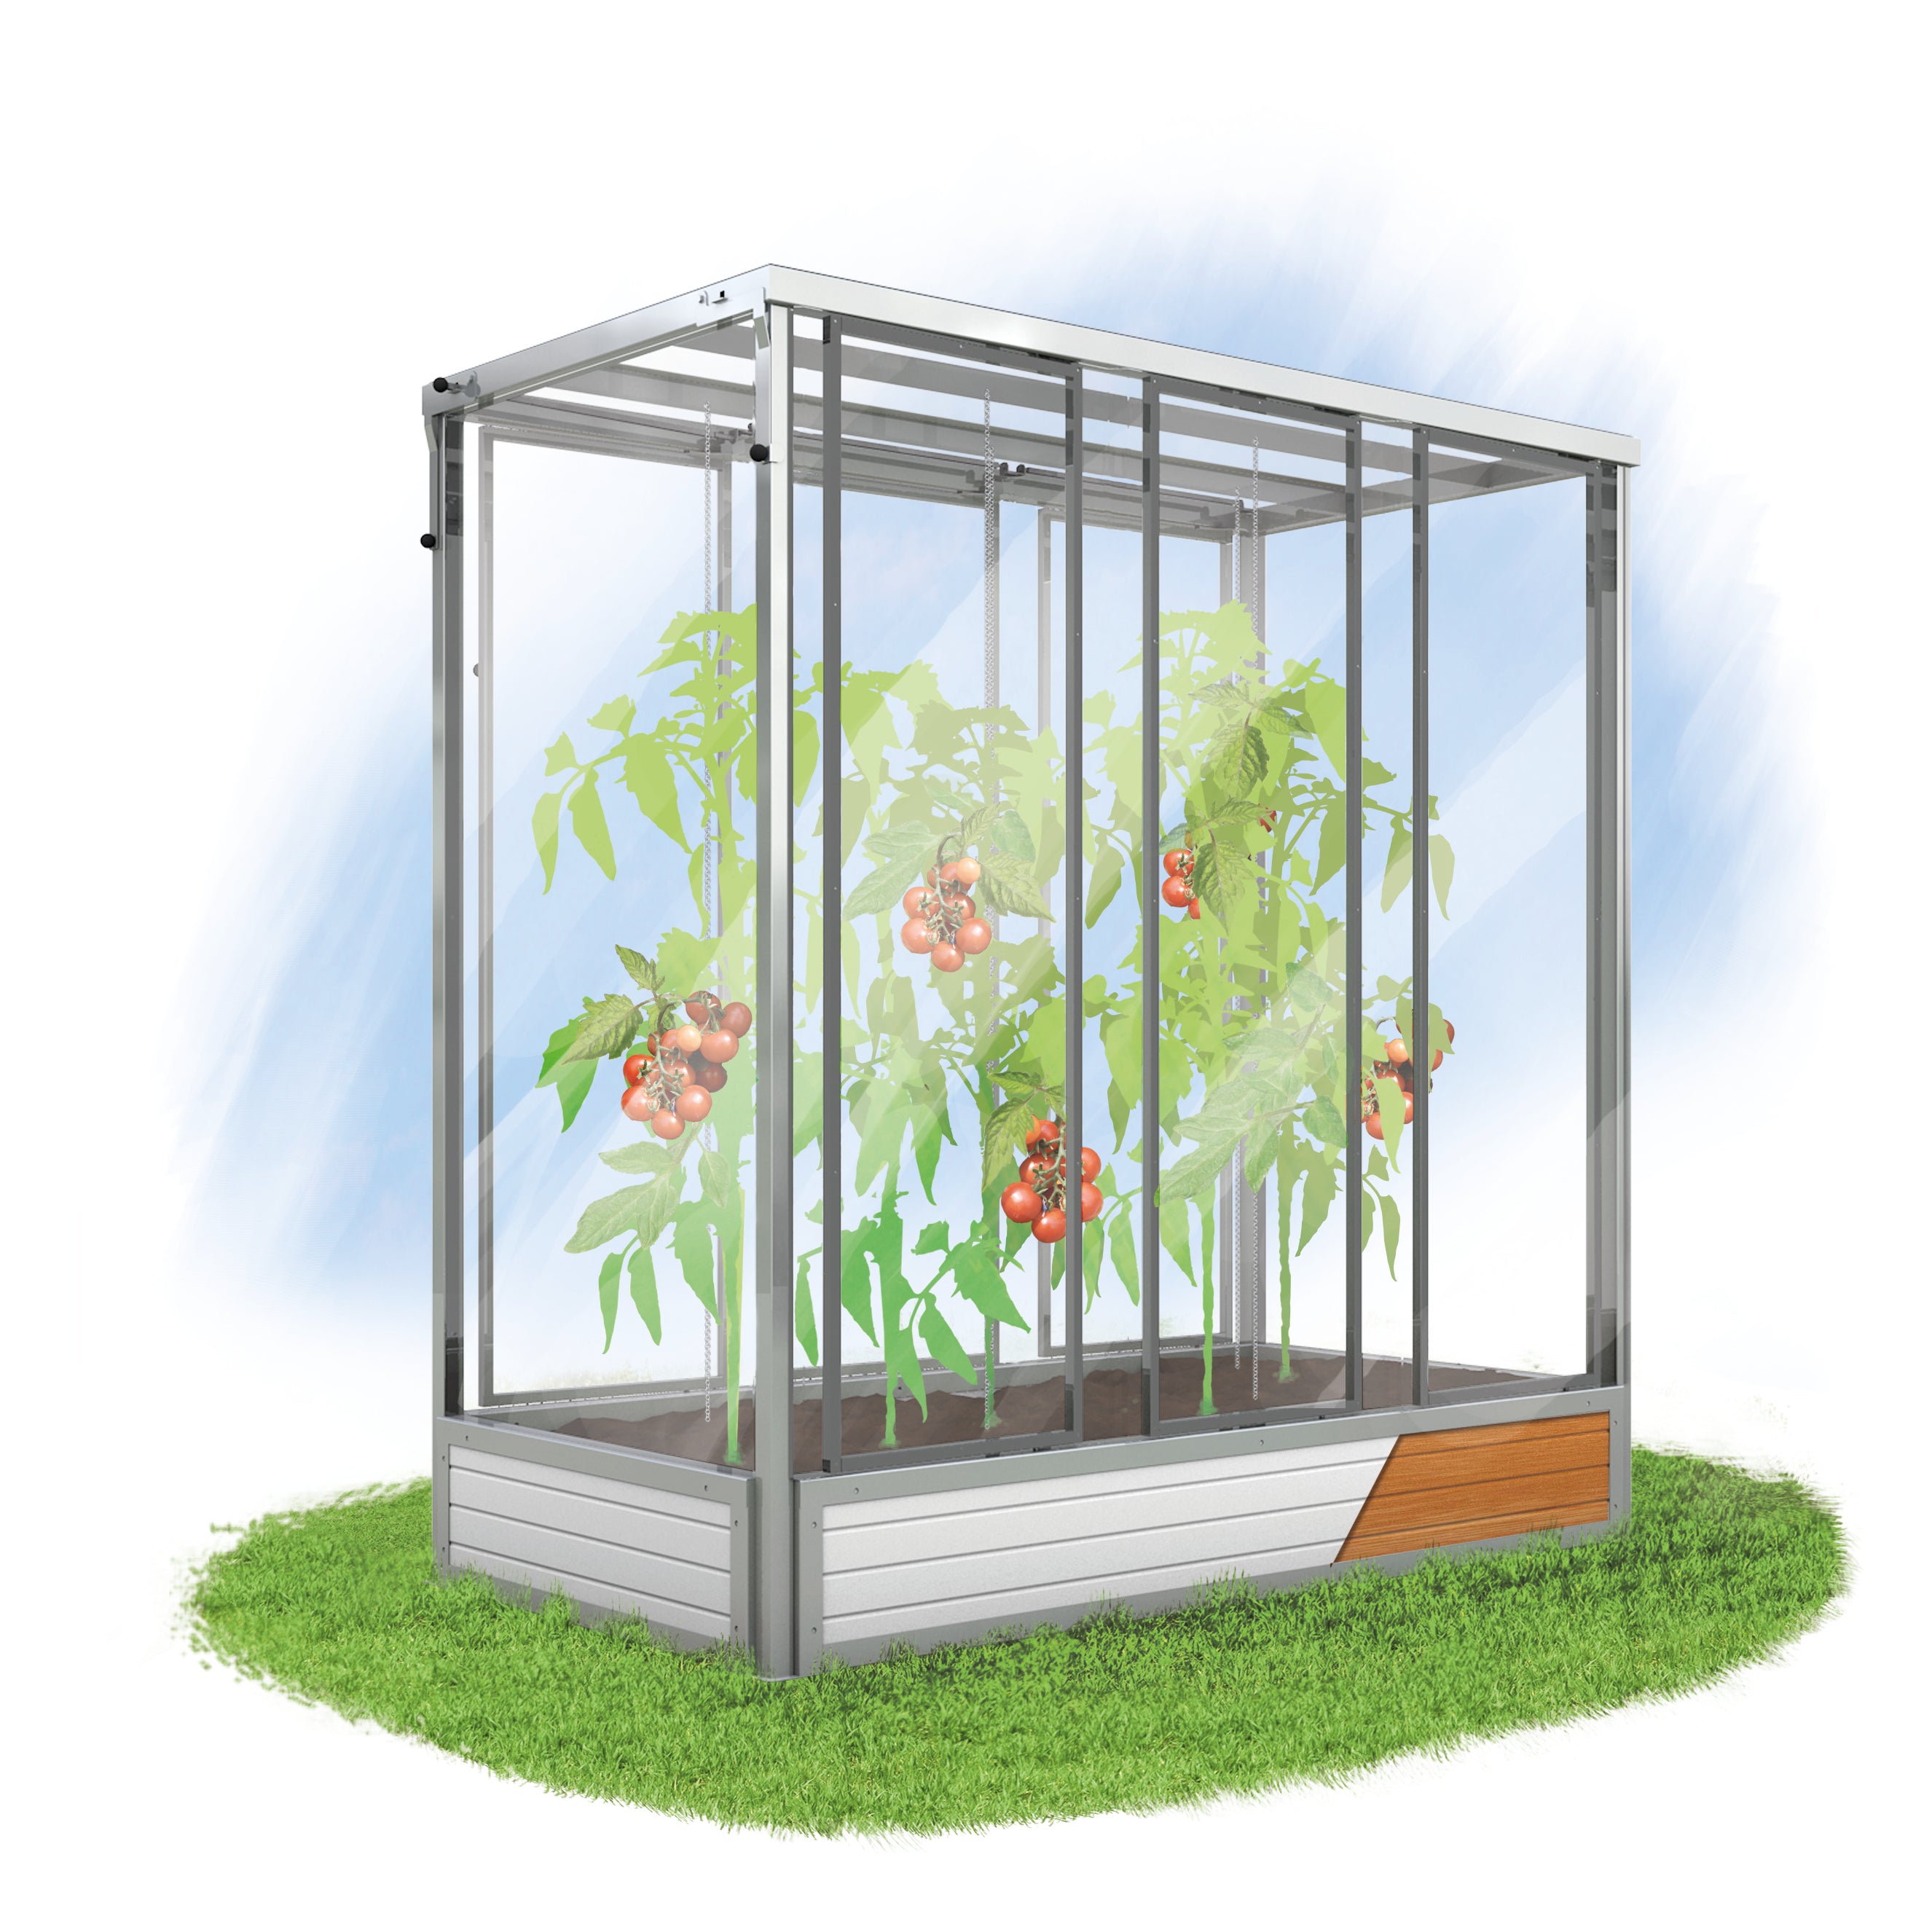
We offer raised beds, tomato houses and chicken coops made of metal. Of course, we also have accessories (irrigation systems, sets, soil, etc.) in our range.
A raised bed should be placed on a flat and stable surface, such as a lawn.
A foundation is not required to set up a raised bed.
If you base your work on the height of your kitchen worktop, you should be able to do your gardening without any problems.
If you are handy, two people will need about 1.5 hours to assemble it.
The entire raised bed with accessories weighs about 150 kg. The heaviest individual part weighs about 25 kg.
Start with a layer of coarse woody material, followed by finer material, grass clippings, leaves and hedge trimmings. Cover this with a cardboard box if necessary and then fill with about 30cm of soil on top.
No, the raised bed would have to be disassembled again, as this is one of the first steps in the assembly process.
If you need a lawn strip or a base, please remember to order it from us before assembly. We are also happy to help you: https://hochbeet.com/pages/contact
Yes, this is possible without much effort.
Hold the rubber bands with hooks in your hands and stand on the short side of the raised bed. Attach the side part by hooking the rubber bands onto the upper cover slats.
Remove the defective rubber bands with scissors or a knife. Thread the new rubber band through to the stop (eyelet) and attach the enclosed eyelet to the end of the rubber band with pliers or a hammer.
Spread about 200 g of sheep's wool fertilizer in the raised bed and mix it lightly into the soil when you have newly created your raised bed.
Add 20 ml (2 caps) of EM Active to 10 liters of water and water the plants regularly with this solution.
Yes, upon request we can manufacture your raised bed according to your wishes.
Contact us: https://hochbeet.com/pages/contact
Yes, please let us know the inside width of your raised bed so that you can get the right irrigation system.
Yes, stop spraying in the fall, remove it from the raised bed and store it frost-free.
Place the net over the cucumber vines, pull it down at the sides and attach it to the long nuts.
We recommend using both the mouse grid and the mole cricket grid.
Yes, one plate holder set is enough for 5 top and 2 side cover plates.
Delivery
Shipping of our raised beds is free within Germany and Austria. Shipping costs for delivery to Switzerland are 249 euros.
You can find more information about other products here .
The delivery time is approximately 14 days from the order and receipt of payment. If there are any delays, you will be informed immediately.
Make sure the space for the raised bed is prepared and that someone is on site to receive the delivery.
Delivery is made by freight forwarder on a pallet to the curb.
“Curbside” delivery means that the package will be delivered to the nearest accessible road. Make sure you have help to transport the package from there.
Please check the package carefully upon arrival. If there is any damage, contact us immediately so that we can find a solution.
payment
We accept various payment methods, including credit card, PayPal, Apple & Google Pay, Klarna and many more.
Our customer service is available by phone and email. We will be happy to help you with any questions or concerns.
Care
1. Ameisen:
- Bekämpfung: Barrieren aus Zimt oder Backpulver.
- Prävention: Hochbeet sauber halten.
2. Asseln:
- Bekämpfung: Feuchtes Laub und Pflanzenteile entfernen.
- Prävention: Groben Sand oder Kies auf der Oberfläche auslegen.
3. Engerlinge:
- Bekämpfung: Nematoden einsetzen.
- Prävention: Boden im Frühjahr und Herbst umgraben.
4. Raupen:
- Bekämpfung: Handabsammeln, Bacillus thuringiensis anwenden.
- Prävention: Kräuter wie Dill oder Minze pflanzen.
5. Läuse:
- Bekämpfung: Wasser-Spülmittel-Mischung oder Neemöl sprühen.
- Prävention: Marienkäfer und Schlupfwespen einsetzen, Kapuzinerkresse pflanzen.
Zusätzlich:
- Schnecken: Kupferbänder um das Hochbeet legen oder unseren Schneckenschutz anbringen.
- Insektennetze: Hochbeet-Abdeckungen anbringen, um fliegende Schädlinge
Planung:
- Wählen Sie Pflanzen aus, die gut zusammenwachsen und ähnliche Bedürfnisse haben (Licht, Wasser, Nährstoffe).
- Planen Sie eine Mischkultur, um Schädlinge abzuschrecken und den Boden optimal zu nutzen.
Schichtung:
- Unterste Schicht: Grobe Materialien wie Äste, Zweige und Holzschnitzel, etwa 20-30 cm hoch. Diese sorgen für eine gute Drainage.
- Mittlere Schicht: Grober Kompost oder halbverrottetes Material, ca. 20 cm hoch. Diese Schicht liefert Nährstoffe und hilft bei der Wasserregulierung.
- Obere Schicht: Feine Komposterde oder Pflanzerde, etwa 20-30 cm hoch. Diese Schicht ist für die Wurzeln der Pflanzen gedacht.
Pflanzenauswahl:
- Randbepflanzung: Niedrig wachsende Pflanzen wie Salat, Radieschen oder Kräuter.
- Mittlere Zone: Mittelhohe Pflanzen wie Paprika, Zwiebeln oder Erdbeeren.
- Hintere Zone: Hohe Pflanzen wie Tomaten, Bohnen oder Mais.
Pflanzung:
- Setzen Sie die Pflanzen nicht zu dicht. Achten Sie auf die individuellen Abstände, die jede
Pflanze benötigt. - Pflanzen Sie tiefwurzelnde Pflanzen (Karotten, Rettich) neben Flachwurzlern (Salat, Spinat), um den Platz optimal zu nutzen.
Bewässerung:
- Sorgen Sie für eine gleichmäßige Bewässerung, besonders in den ersten Wochen nach dem Einpflanzen.
- Ein Bewässerungssystem kann helfen, die Pflanzen regelmäßig und effizient zu versorgen.
Pflege:
- Regelmäßig Unkraut entfernen, um die Pflanzen gesund zu halten.
- Mulchen Sie die oberste Schicht mit Stroh oder Grasschnitt, um Feuchtigkeit zu speichern und Unkrautwachstum zu verhindern.
- Kontrollieren Sie die Pflanzen regelmäßig auf Schädlinge und Krankheiten und handeln Sie entsprechend.
Ja, es ist wichtig, das Hochbeet im Herbst neu aufzufüllen, wenn es abgesackt ist. Hier sind die Schritte, um das Hochbeet im Herbst richtig aufzufüllen:
Entfernen der alten Pflanzenreste:
• Entfernen Sie alle verbliebenen Pflanzenreste und Unkraut. Dies verhindert die Überwinterung von Schädlingen und Krankheiten.
Lockern der Erde:
• Lockern Sie die oberste Erdschicht mit einer Grabegabel oder einem Kultivator, um die Belüftung zu verbessern und das Eindringen von Wasser zu erleichtern.
Kompost hinzufügen:
Füllen Sie das Hochbeet mit frischem Kompost oder gut verrottetem Mist auf. Dies liefert wichtige Nährstoffe für die kommende Pflanzsaison.
Schichten Sie etwa 10-15 cm Kompost auf die bestehende Erde.
Vermischen:
• Mischen Sie den neuen Kompost leicht mit der vorhandenen Erde, um eine gleichmäßige Verteilung der Nährstoffe zu gewährleisten.
Mulchen:
• Decken Sie die Oberfläche des Hochbeets mit einer Schicht Mulch (z.B. Stroh, Laub oder Grasschnitt) ab. Dies schützt die Erde vor Erosion und hilft, die Feuchtigkeit zu halten.
Optional: Gründungung:
• Sie können auch Gründüngungspflanzen wie Klee, Lupinen oder Phacelia säen. Diese Pflanzen schützen den Boden vor Erosion, verbessern die Bodenstruktur und fügen dem Boden zusätzliche Nährstoffe hinzu, wenn sie im Frühjahr untergegraben werden.
Durch diese Schritte bleibt Ihr Hochbeet gesund und nährstoffreich, bereit für die nächste
Pflanzsaison.